Over
the course of this module my confidence with Maya has grown a lot, and I
thought it was great to have tutorial videos in which we created assets for
what would be our final piece. For example we started with a modelling exercise
in which we created a Streetlamp, this introduced us to a lot of basic
manipulation functions (moving vertices, resizing, extrusion, etc.) as well as
some more complex tricks to improve our productivity. Below is a render of the
lamp I created:

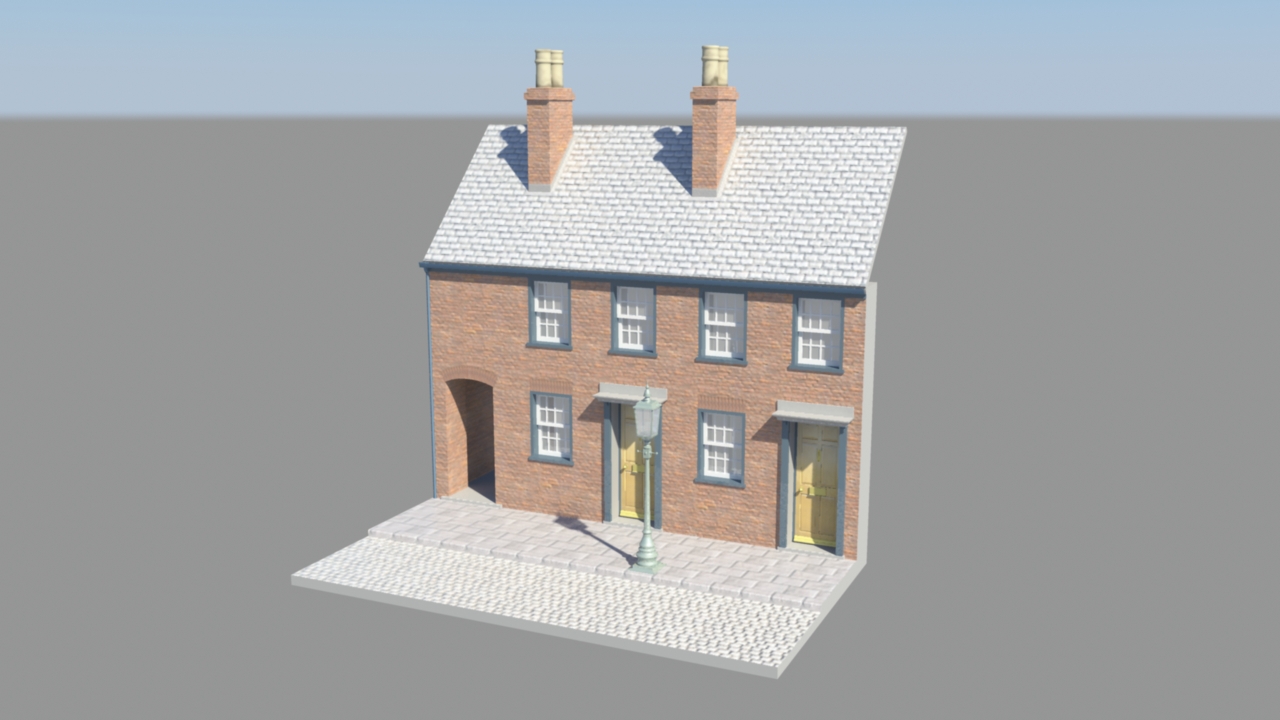
After
completing this exercise we moved on to what would be the bulk of our work for
the module. This involved constructing a small section of a street (which we
would eventually combine with our street lamp model) by following another set
of tutorials. The videos introduced me to a number of more complex aspects of
Maya such as texturing, importing assets and also made use of some of the
things I had learnt whilst creating the street lamp model. I also learnt some
useful techniques for the creation of the textures themselves through a number
of videos that involved the use of Adobe's Photoshop. Here you can see some of
the renders of the final version of my street scene, as well as all the texture
files that went into creating it:
 | |
| Final scene with Daytime lighting |
 |
| Final scene with Night time lighting |
 |
| Experiment with rendering option allowing for physical sun and sky to be rendered, while i felt it improved the overall look when compared to the other settings, i believe it appears overly bright. |


I
feel like I have learnt a lot of the core functions I need to create and
texture a model in Maya with relative ease, and I am fairly happy with the
final outcome of my work as it matches up with what is displayed in the
tutorial videos. What I certainly found the hardest out during these videos was
the texturing. If I were to do it again the only thing I would change is the
texture work I had done towards the end as I found texturing the road and the
pavement to be quite a pain and it resulted in me rushing the work.
The
final stage of this module was to import the scene into a game engine. We were
shown how to go about importing our street model into Epics Unreal Development
Kit. Given that this was a program I had never used before I was a bit daunted
by the task but it turned out to be a very easy process, what took more time
was getting the model to integrate with the engine properly. For example our
model had no collisions when first imported, meaning that in game the player
would be able to walk through it, being unable to interact with it in any way, so
we learnt how to generate a collison mesh for our model using the software.
 |
| Collision model generation isn't perfect... |
The
only other thing that needed doing was applying the textures, unfortunately I didn't
see how to import the UV mappping coordinates for our model, but I did learn
how to use the material library and apply it to each part so that I could make
it look presentable. Below you can see a final shot of the house textured and
placed in the world:
 |
| Street scene, now in glorious post-apocatlyptic brown. |


