Thursday 31 May 2012

[ZBRUSH] Torch Modelling

Okay. I think i've got a better chance of being able to finish this model whilst still managing to achieve a high quality final product.

Starting off with a cylinder (again) and stretched it to what i hope is the right length
Sunken area for lamp
Sorting out the shape
Just starting on the finer details like the hand grip
Added smaller grip section and another ridge

Decided to create the indent for the button on the way

Larger grip section done, all thats left now is the button!

And here it is! Made simply by appending a cube and manipulating it into the desired shape.

Final Torch Model


[ZBRUSH] Fire Axe Modelling

My next model is the Fire Axe, i remember it well from my time playing Left 4 Dead 2. The modelling for this item should be fairly straightforward once again, though it will most likely need a cube to go with the usual cylinder!

Not starting with a cylinder for once!
Okay, this model isn't going so well... i've spent a long time wrestling with the cube in different ways trying to attain the shape im after.


 The first thing i tried was using the unified skin method to get rid of the pinching on top of the cube, in the hopes that this would allow for easier manipulation, i tried using a mask to create the shape of the main axe head without luck. I then tried using the clip mask to cut the shape i wanted, but this tool proved both incredibly frustrating and ineffective.


I reverted to manipulating the standard polymesh cube as best i could and ended up accidentally getting the shape i was after (as shown above), and i appended another cube for the other end of the axe head (darkened area.) but in the end i just wasn't happy with how it was turning out, so i've decided to move on. It seems i'm not yet competent enough to create a complex shape like this.

Wednesday 30 May 2012

[ZBRUSH] Oil Drum Modelling

Keeping things simple, i will be modelling an oil drum next, in the hopes that i will be able to complete this model in a far shorter time than the last.


Once again i'm starting with a cylinder


Stretched and subdivided. I used the clipping tool to flatten the rounded top and bottom.

Using a mask to create the ridges in the barrel.

I created the top lip by simply moving the inner cirle down.

Used another cylinder to begin creating the caps

Here's the result.

Caps appended and positioned.

As a finishing touch added some dents.

Here's the the final model!

I definitely feel like i created this model far more efficiently than the last, and am very pleased with the result. On to the next one!

Here's the final model with a metallic material texture applied

[ZBRUSH] Baseball Bat Modelling

Yep, that's right,i decided that the first item from my list that i'd model would be the Baseball Bat, purely because i see it as a good starting point that shouldn't be too challenging. Here goes:

I decided that a cylinder would be the best starting point.


With some careful manipulation i managed to get the handle shape done

Through some careful tugging and pulling at the rest of the cylinder i managed to get the shape i was looking for

Here is the final model

I feel like i didn't have the best of starts to my solo modelling here. It took me alot longer than i would've liked to create what is a very simple model, but i am pleased with the final product at least.

[ZBRUSH] Game Genre

After completing Badkings grenade tutorial we have been asked to pick a game genre and think of 12 items that you would typically find in said genre.

I've decided to go with Horror as my genre, but narrow down my scope be choosing to focus on items you would typically find in Zombie games, of which there are many. I found that Left 4 Dead and Dead Island were great games to use for inspiration.

Here's my list:

Chainsaw - Classic

Baseball Bat

Beer Bottles for general clutter

Fire Axe
Machete

Machine Gun
Gas Canister, will often be combustable in game

Oil Drums for more clutter, these will often have combustable variants as well

Pistol

Shotgun


Bullets and Bullet Casings
A Torch

For now i will be attempting to model a few of these items using ZBrush, i'll be posting my progress as i go.

Monday 28 May 2012

[ZBRUSH] Grenade Tutorial Progress

In this post i'll just be uploading some screenshots of my progress and will update them as i go, i don't know if there's a limit on the number of images you can have on a post, but if there is i'll find out soon enough.
Just getting started

Shift-F to draw polyframes eh? *must remember*

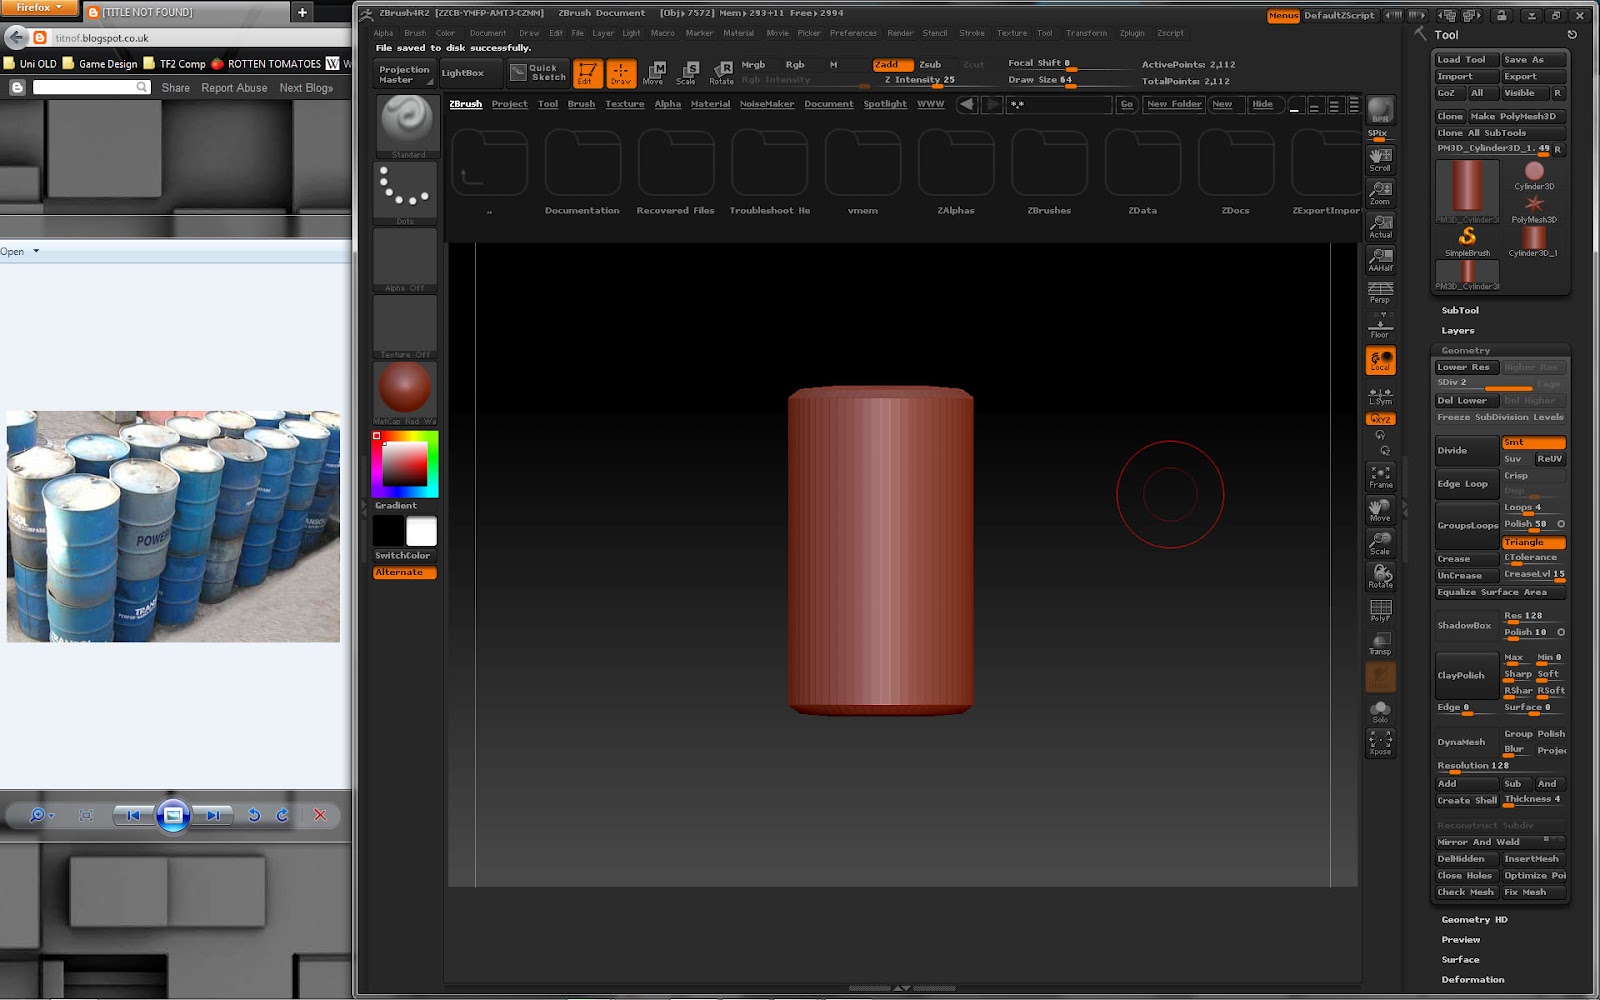
It took me far too long just to get to this stage
 I'm finding this program a tad frustrating to say the least...


 Think that's the main body of the grenade done, now starting on the fuse box... feeling slighty more confident with the program now. Still can't stand to use it for too long though...


Just finished making the handle and found it relatively easy to imitate what had been done in the video, i can feel my confidence growing!


Ok, coming along nicely, next part is the pin which is apparently going to be very tricky and will require alot of concentration, tall order right there!


Turns out it wasn't too much trouble making the ring for the pin, it was in fact the pin itself that was the most trouble... i found that i couldn't replicate what i was seeing in the video so in the end i settled for what you see above as the closest i would get to it.

However that is it! The grenade is finished! Below you can see a couple of images of the final model:


After completing this tutorial i feel a far greater enthusiasm for ZBrush. I have a firm grip on the basics of the program and have learnt some useful techniques that will help me when creating my own models in ZBrush.